
To Create a Rule:
1. Log into EPPS as a Client Admin.
2. Click the Admin tab, and then click the Rule Manager tab.

3. Click Create New Rule.
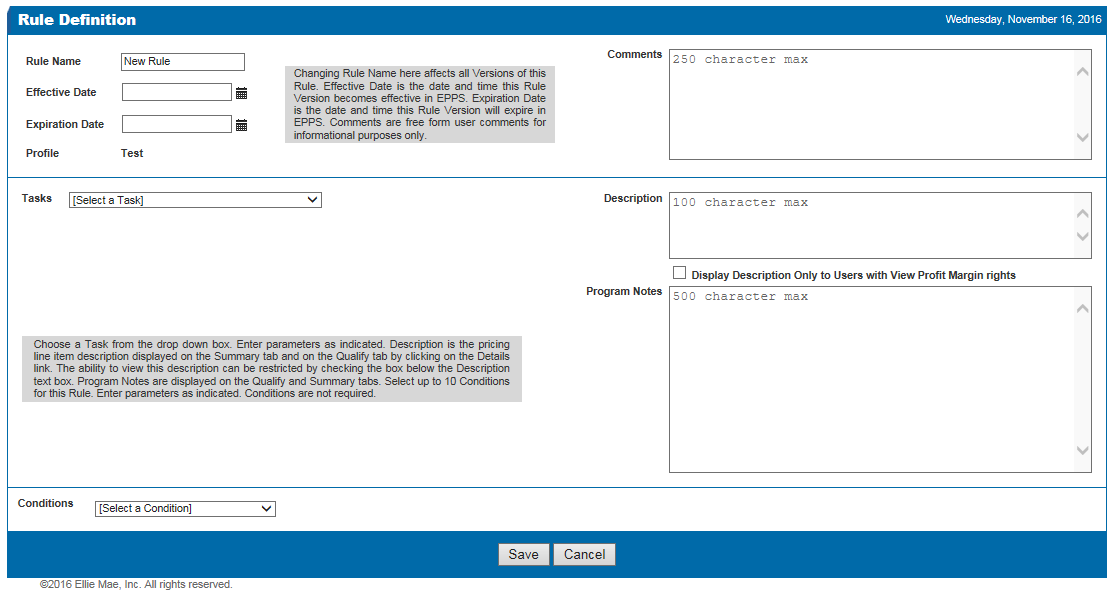
4. In the Rule Header section, which contains general rule information, enter the following required information.
▪ Rule Name – A unique client-defined identifier for the rule.
▪ Effective Date – The date and time when the rule will become active in EPPS.
5. The remaining fields in this section are optional.
▪ Expiration Date – The date and time when the rule will expire in EPPS.
▪ Profile – The version profile of the rule. The default is “Test” for new rules.
▪ Comments – Free-form text up to 250 characters. It will be displayed on the Rule Listing page.
6. In the Rule Task Section, which contains details about the task the rule will be performing, enter the following required information.
▪ Task Name – Select a task from the drop-down list. Based on the task selected, additional related fields will be displayed.
7. Depending on the selected task, the following fields can be required, optional, or disabled.
▪ Description – The line item pricing description is displayed in EPPS on the Qualify tab when clicking on the Details link, on the Summary tab, and on the Secondary Lock Tool in Encompass. Descriptions can be up to 100 characters in length.
▪ Program Notes – These notes are displayed in EPPS on the Qualify tab, the Summary tab, and the Secondary Lock Tool in Encompass. Notes can be up to 500 characters in length.
8. Select the Display Description Only to Users with View Profit Margin Rights check box if you want the description and the itemized effect of the task on pricing to be displayed only to users with the “View Profit Margin” right. For users without the “View Profit Margin” right, the effect of the task on pricing will be reflected in the base price displayed to these users.
▪ If the check box is not selected, the description and the itemized effect of the task on pricing will be displayed to all users.
9. In the Rule Condition section, which contains the details of the conditions on which the rule execution will be based, select up to a maximum of ten (10) conditions.
▪ Conditions are optional.
▪ Each condition will be displayed in its own row in the Condition grid.
▪ Based on the condition selected, additional related fields will be displayed.
▪ To delete a condition, click on the “X” to the left of the row.
10. Click Save to save the rule.
▪ Validation errors will be displayed at the top of the page and must be corrected before the rule can be saved.
